3 Ways: How to Set Hard Drive as Read-Only in Windows 11/10/8/7
Setting the hard disk as read-only protects important information from being copied, modified, or preventing the local disk from being formatted. So how to change the hard disk to read-only? You can choose from 3 simple methods below.
Method 1: Make Hard Drive Read-Only Using IUWEsoft Password Protect Folder Pro
Using third-party hard drive lock software can make your hard drive more secure. IUWEsoft Password Protect Folder Pro can hide, lock, protect, and disguise files, folders and drives.
Step 1: Download, install and launch Hard Drive encryption software. Click "Lock File/Folder", and then click "Open for Lock" button to select a file or folder from computer hard drive or you can click "Protect USB" to lock hard drive.


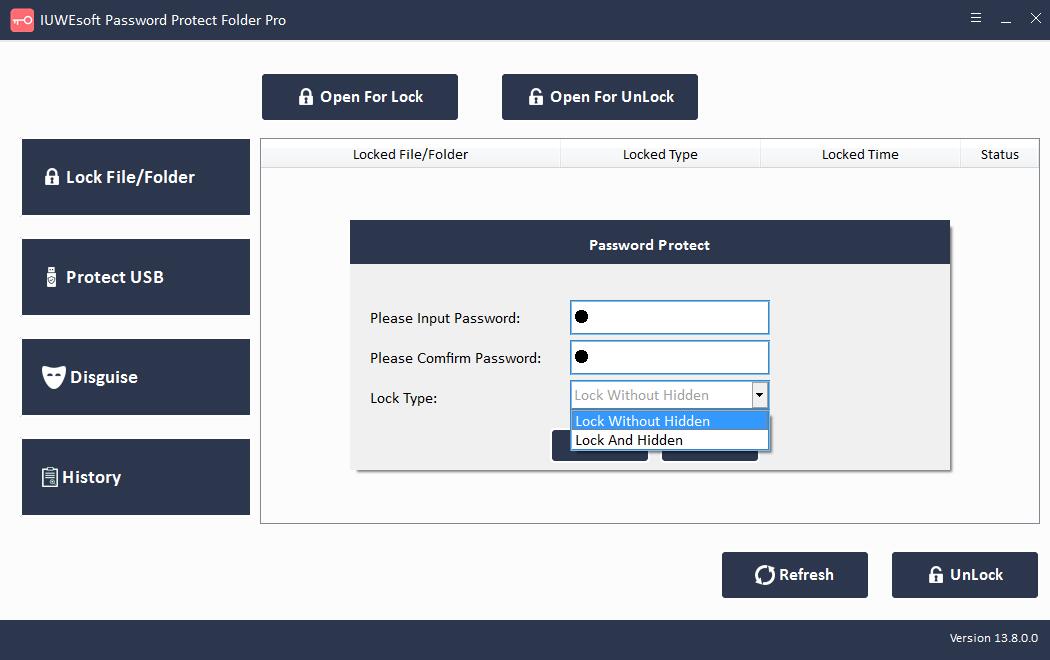
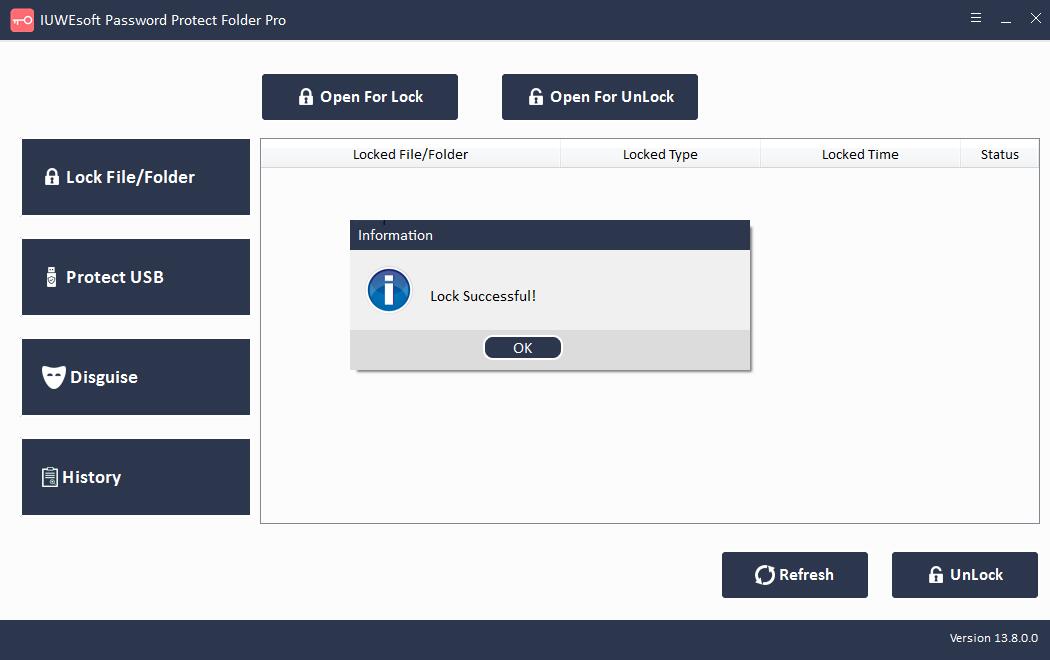
Step 2: Select lock type (Lock without Hidden or Lock with Hidden), input and confirm password and then click Lock button to set hard drive as Read-Only.
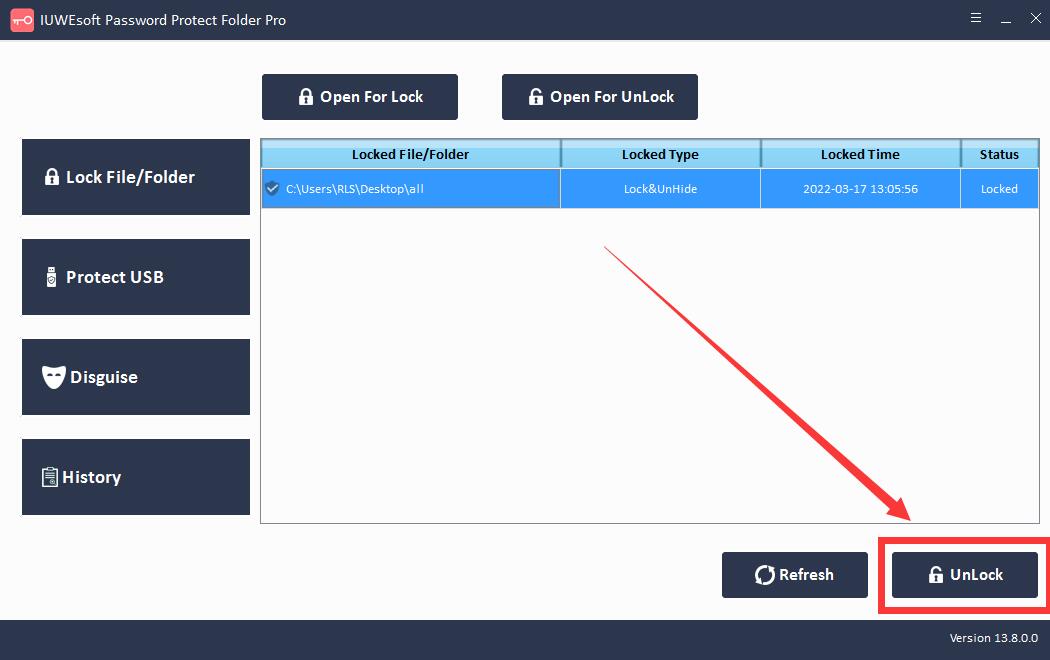
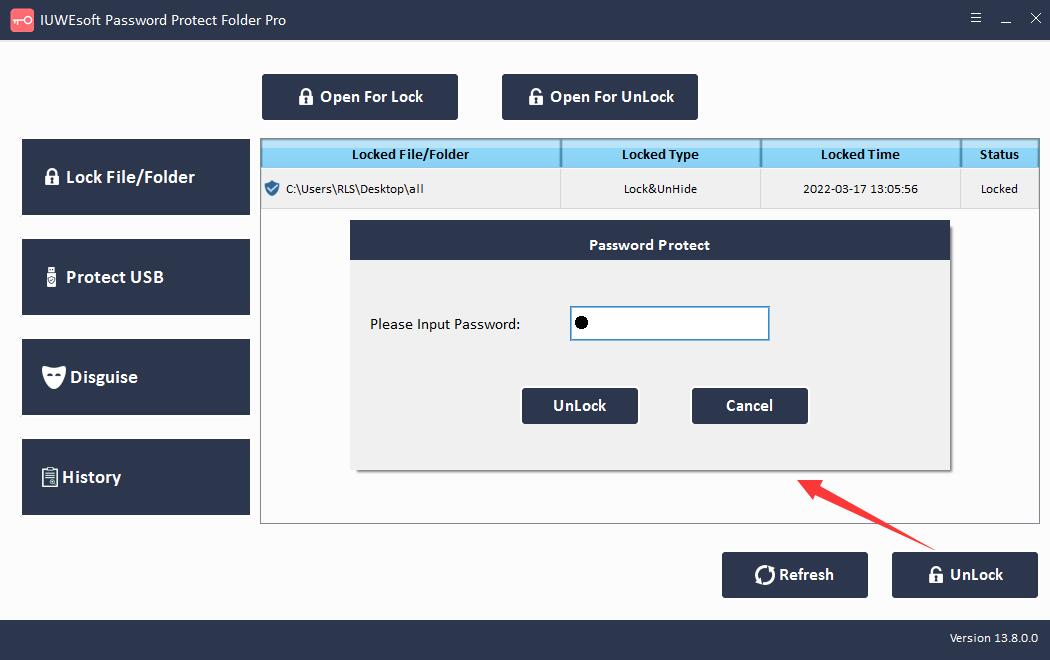
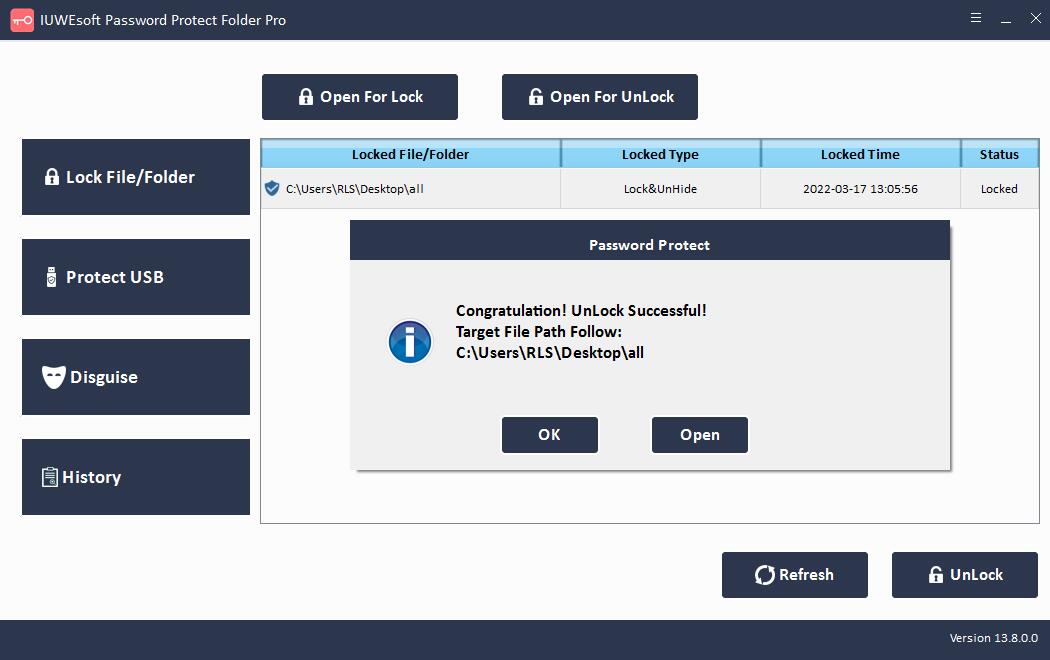
Step 3: Make Hard Drive Writable. Select locked Hard Drive in the main interface and then click "Unlock" button, input password to unlock file/folder.
Method 2: Make a Hard Drive or Volume Read-only Using Command Prompt
1. Hard Drive is set to read-only
Step 1: Type Command Prompt in the search box and right-click it to select Run as administrator. Start to run the command prompt.
Step 2: Type "diskpart" and press Enter.
Step 3: Type each command line and press Enter.
List disks
Select Disk* (* represents the number of the disk you want to make read-only.)
Attribute disk set read-only

2. Set a Volume Read Only
Step 1: Press the Windows + R shortcut key to open the Run dialog box.
Step 2: Type cmd and press Enter to open the Command Prompt.
Step 3: Type "diskpart" and press Enter.
Step 4: Input each command line and press Enter.
List volume
Select volume * (* stands the volume number you want to protect it as read-only.)
Attributes volume set readonly
Step 5: An error window will pop up like "The disk is write-protected". So you cannot modify the data on the write-protected volume.
Method 3: Make the disk drive read-only in my computer
If you don't trust third-party hard drive encryption software and cumbersome command lines. The property settings allow you to make the hard drive read-only. Note: Other users can easily delete the settings you set.
Step 1: Open File Explorer and select "This PC or My Computer" from the Quick Access section.
Step 2: Right-click the drive you want to make read-only and select Properties from the list of options.
Step 3: Go to the Security tab and click Edit next to "To change permissions", click Edit.
Step 4: Check only the "Read" box and click the "OK" button.
Tips: How to Make a Drive Hard Writable
Step 1: Search cmd in the search box. Click Command Prompt to access.
Step 2: Type the command line and hit Enter key.
List disk
Select disk * (* stands the read-only drive)
Attributes disk clear readonly
Step 3:Type exit and hit Enter.