4 Ways: How to Hide and Lock Local Disk in Windows 11/10/8/7/XP
Want to hide local disks and make internal disk drives and partitions invisible to other users? In this article, you can get four reliable ways to hide your internal disk drive in Windows 11/10/8/7/XP/Vista: Hide Local Disk with Disk Management, Hide Local Drive Files and Folders with IUWEsoft Password Protect Folder Pro, Hide Local Disk Drive with Local Group Policy Editor, and Hide Entire Disk Drive with CMD. Please follow the detailed steps below.
Method 1: How to Hide Local Disk with Disk Management
Step 1: Press Windows + X and select Disk Management from the pop-up list.
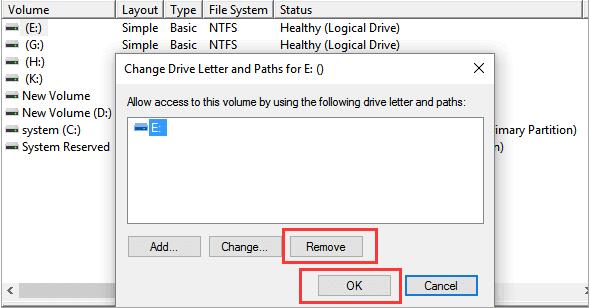
Step 2: Right-click the local disk you want to hide and click on Change Drive Letter and Paths from the list.
Step 3: Select drive and Click the Remove button. The warning windows will pop up, click Yes.
Step 4: Right-click drive without drive letter > Click Change Drive Letter and Paths > Click Add button.
Step 5: On the "Add Drive Letter or Path" window, tick Mount in the following empty NTFS folder. Click the Browse button next to the box.
Step 6: Go to the location you want to create the mount point > Click the New Folder button > Name the folder as you like and click OK.
Method 2: How to Lock and Hide Local Disk Files with Disk Protection Software
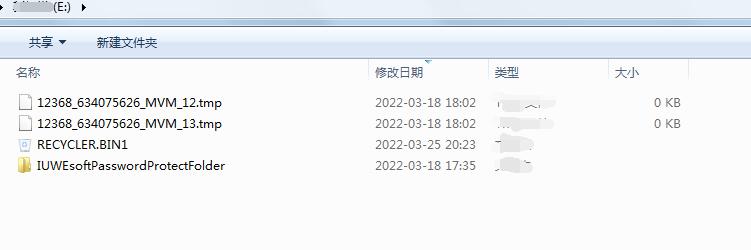
Step 1: Download, install and launch IUWEsoft Password Protect Folder Pro. Click "Lock File/Folder", and then click "Open for Lock" button to select a hard disk or partition from local computer hard drives.


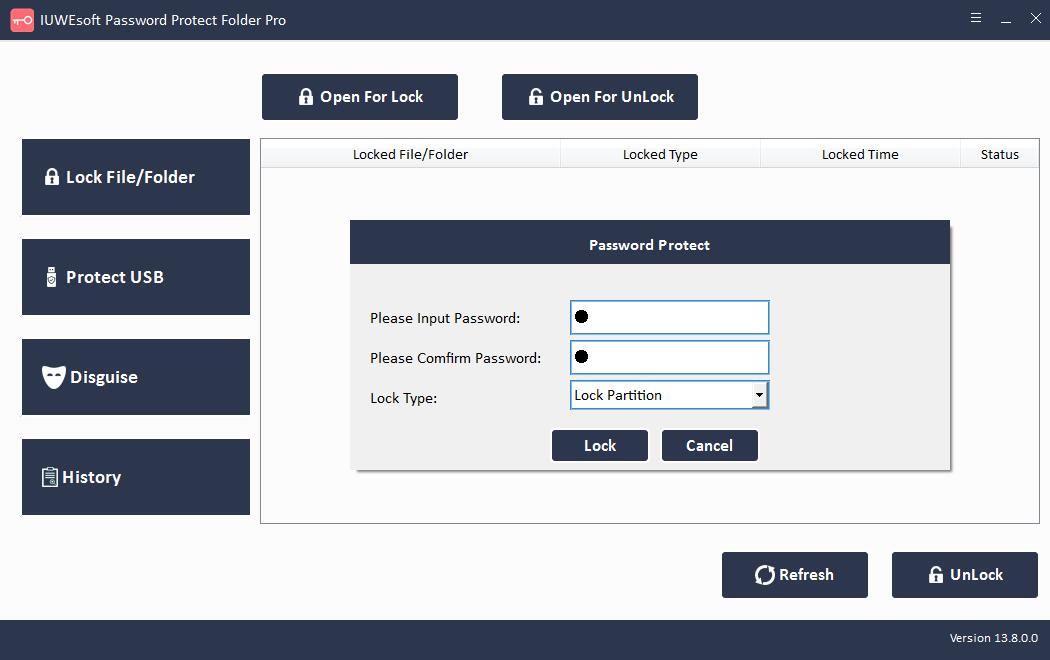
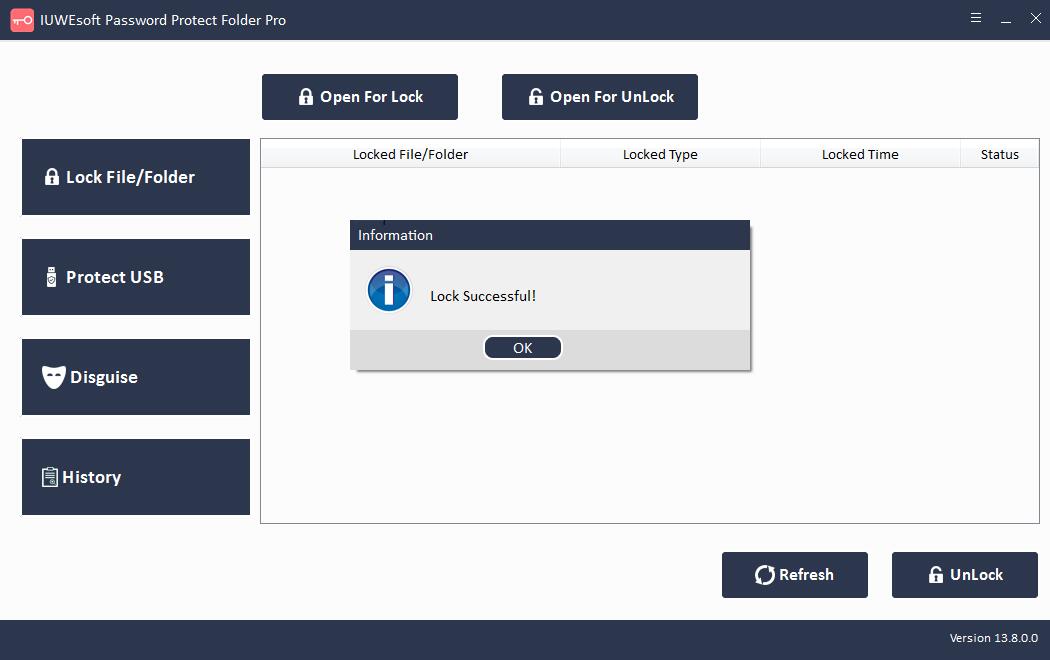
Step 2: Input and confirm password and then click Lock button to lock and hide files stored on the Local Disk.
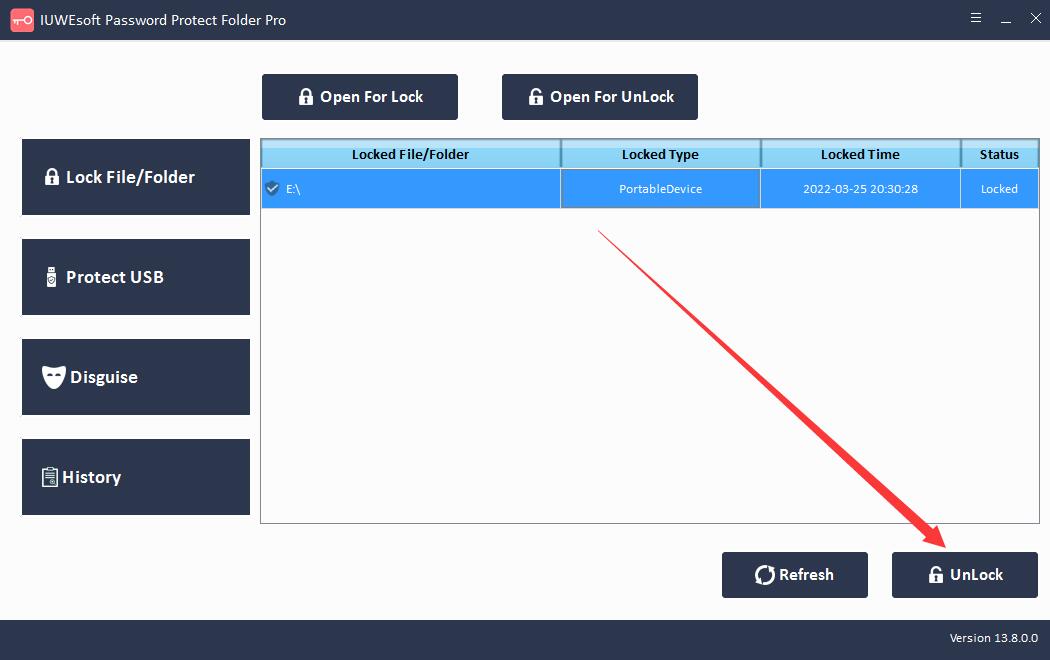
Step 3: Unhide local disk files. Select locked hard drive in the main interface and then click "Unlock" button, input password to unhide local disk files and folders.


Method 3: How to Hide Local Disk with Local Group Policy Editor
Step 1: Press Windows + R to open the dialog box. Type gpedit.msc and click OK to open the Local Group Policy Editor.
Step 2: Expand Administrative Templates > Windows Components > File Explorer
Step 3: Click on File Explorer and you can scroll down to find "Hide these specified drives in My Computer" on the right panel. Click it.

Step 4: On the "Hide these specified drives in My Computer" window, tick Enable option. And then move to the "Options" part, select a drive you want to hide (Restrict all drives or Restrict * drive only).

Step 5: Click Apply and then click OK.
Method 4: How to Hide Local Disk and Partition with CMD
Step 1: Type command prompt in the search box and run command prompt as administrator.
Step 2: Type diskpart and press Enter.
Step 3: Enter each command line and press Enter.
List volume
select volume *
delete letter *
Step 4: You can see the message "Diskpart successfully removed the drive letter or mount point".
Tips: How to Unhide Local Disk
Step 1: Open Disk Management, right-click the drive without a drive letter. Click Change Drive Letter and Paths.
Step 2: Click the Add button. Check to Assign the following drive letter from the pop-up window.
Step 3: Select a drive letter and click OK.
