2 Ways: How to Lock Hard Drive with/without BitLocker Windows 10
In this article we will show you how to encrypt Hard drive in Windows 10. You can learn how to encrypt computer local hard drive with or without BitLocker.
How to Lock Hard Drive without BitLocker
BitLocker can encrypt your computer Hard drives. BitLocker uses the TPM to help protect the Windows operating system and user data, and to help ensure that computers cannot be tampered with even if they are left unattended, lost, or stolen. However, after opening the encrypted drive, you can access it again without password, which does not provide strong security hard drive protection. Due to this problem, many users want another way to lock Hard drives without BitLocker. How to lock a hard drive without BitLocker on Windows 10? Hard Drive Lock software like IUWEsoft Password Protect Folder Pro can lock and password-protect archive files, photos, videos, Word, Excel, PDF, and other file formats from computer hard drives and external hard drives. After encryption, no one can read the files or folders on the hard drive without the password.
2 Steps to Lock Hard Drive without BitLocker Using Hard Drive Lock Software
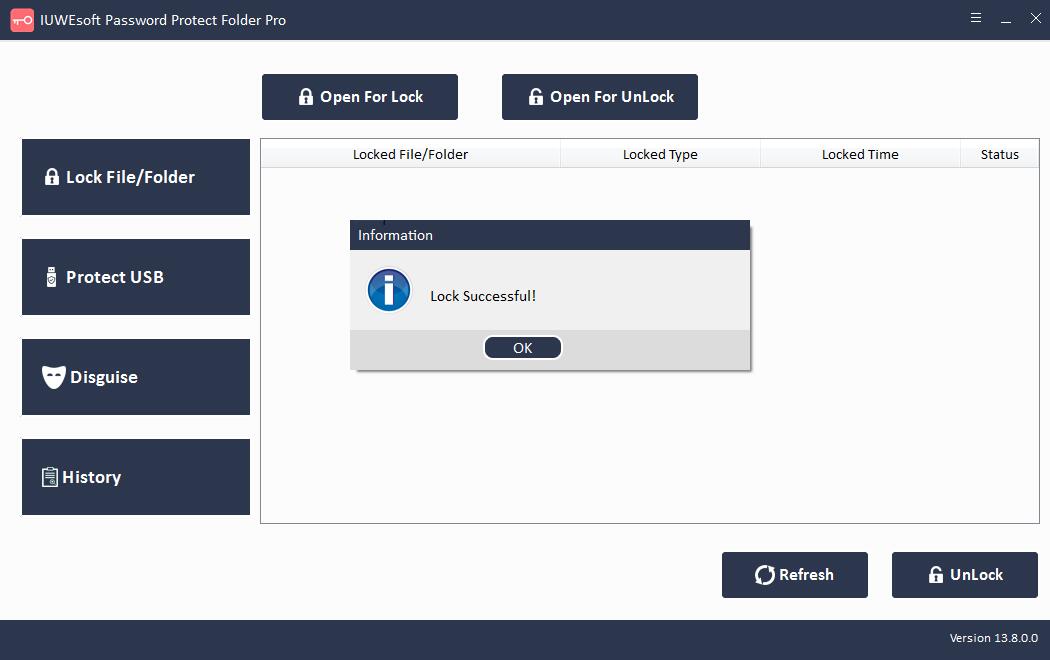
Step 1: Download, install and run the Hard Drive Encryption software. Click "Lock File/Folder", and then click "Open for Lock" button to select a hard drive from computer, input password and click "Lock" button.


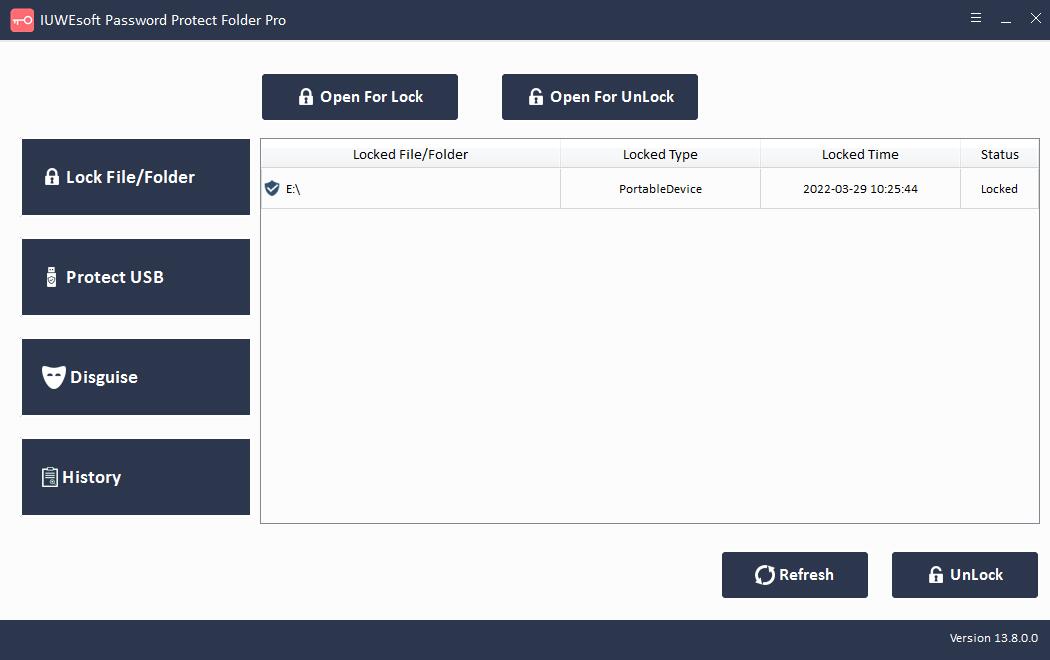
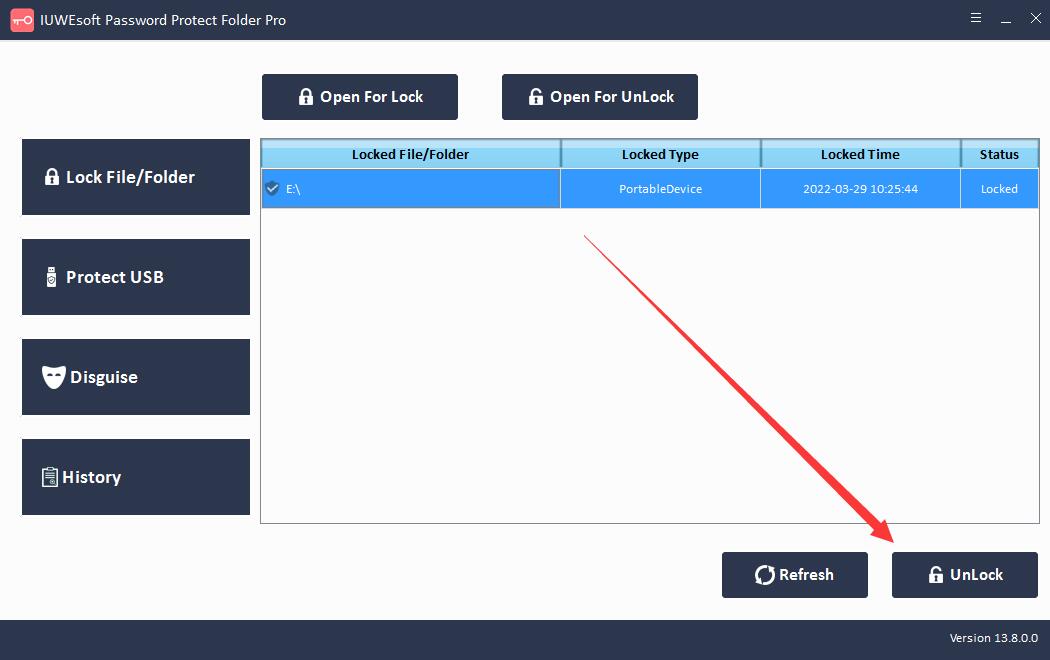
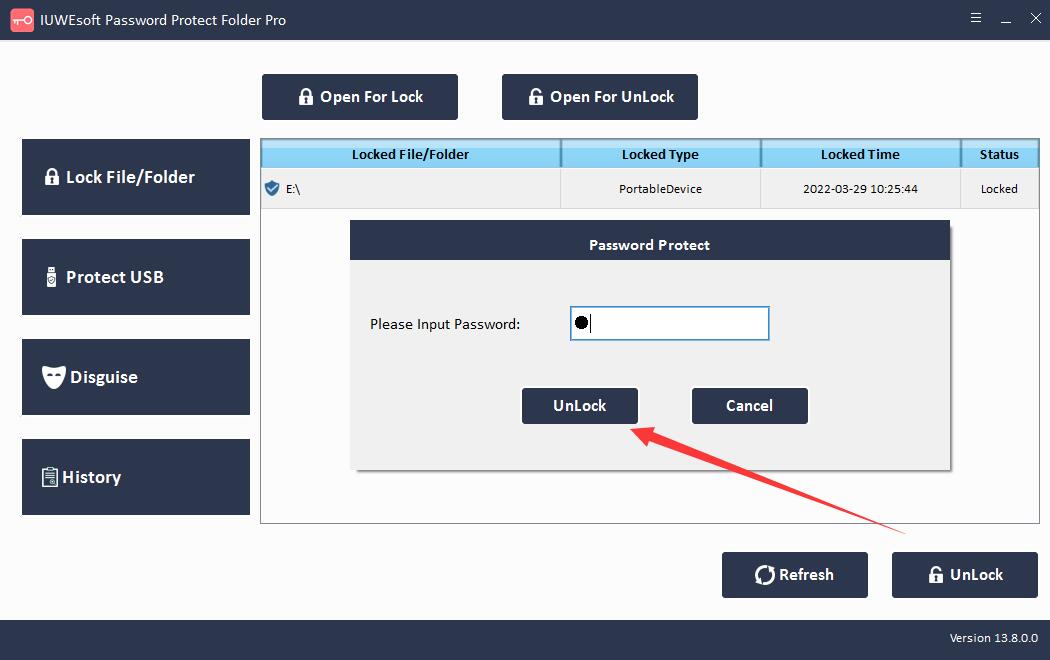
Step 2: Please go back to the main interface, select the locked hard drive and click "Unlock" to unlock a hard drive.

How to Lock Hard Drive with BitLocker
Go to This PC and right click on the Hard drive under Devices and Drives. Select Turn On BitLocker from the drop-down menu.

Step 2: Check the "Use password to unlock the drive" box, enter and re-enter the password. Set a password as required and click "Next".

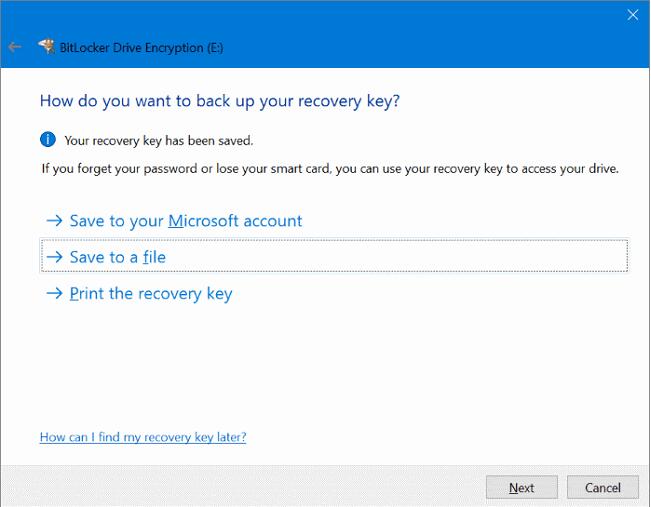
Step 3: Choose a way to back up your recovery key. You can choose to "Save to your Microsoft account," "Save it as a file," or "Print a recovery key." Click "Next".
Step 4: Select "Encrypt entire drive" to ensure that all data is protected, even data that you delete but may still contain retrievable information. Then, click "Next".

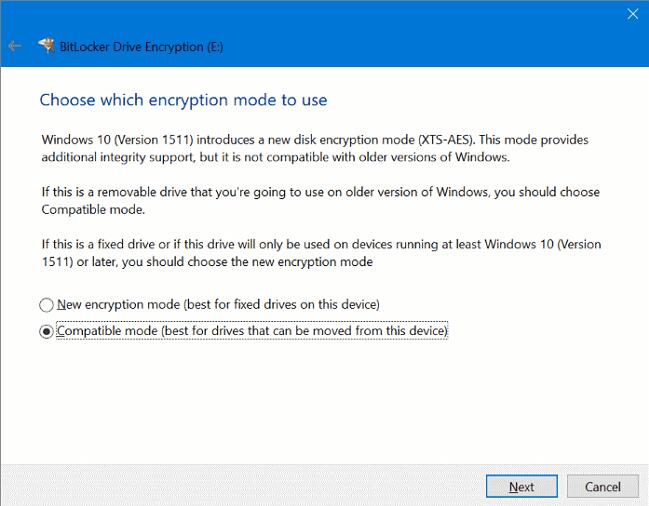
Step 5: On the Select the Encryption Mode to Use screen, select Compatibility Mode, and then click "Next".
Step 6: Click Start Encryption to allow BitLocker to encrypt your hard drive with a password.
