3 Ways: How to Password Protect External Hard Drive on Windows/Mac
Password-protecting the external hard drive is necessary if you store important data on the external hard drive, such as private personally identifiable information, family photos, videos, tax and financial information, login credentials, office documents, etc. This article shows you how to password protect and lock an external hard drive on Windows/Mac.
Method 1: Password Protect External Hard Drive without Encryption Software
External Hard Drive Lock software can help you password protect files or folders on your local hard drive, external hard drive or USB flash drive without encryption. It supports almost all external hard drives, such as Seagate, Western Digital, Samsung, Transcend, Toshiba, HP etc.
2 Steps: How to Password Protect External Hard Drive on Windows
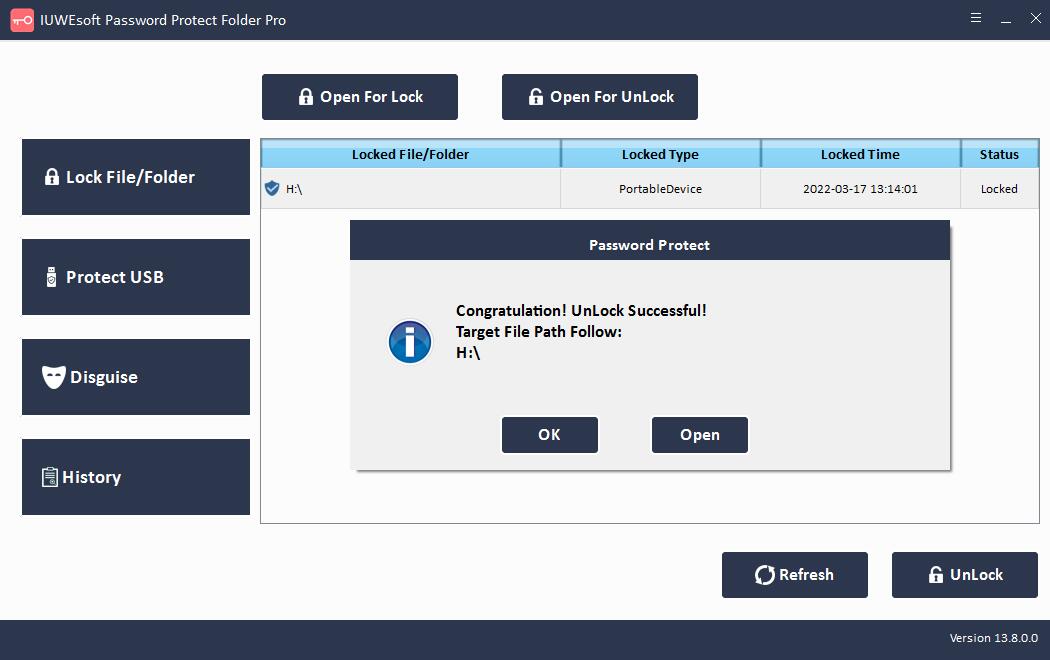
Step 1: Please download, install and run the External Hard Drive Lock software. Click "Protect USB" button, select an External Hard Drive and click "Password USB Drive" button, input password and click "Lock" button.


Step 2: Unlock an External Hard Drive. Please go back to the main interface, select the locked drive and click "Unlock" to unlock a USB Drive.


Method 2: Password Protect External Hard Drive on Windows 10 with BitLocker
BitLocker is Windows' built-in hard disk encryption tool. It comes with Windows 10 Enterprise and Professional, Windows 8 Professional and Enterprise, Windows 7 Ultimate and Enterprise, Windows Vista Ultimate and Enterprise, and Windows Server 2008 and later. BitLocker allows you to encrypt and password protect data on external hard drives. Due to the version limitation, if you want to password protect the external hard disk in Windows 11/10 Home, please refer to method 1 to lock an External Hard Drive without encryption.
Step 1: Connect your external hard drive to the computer. Right-click the external hard drive and select "Turn On BitLocker".

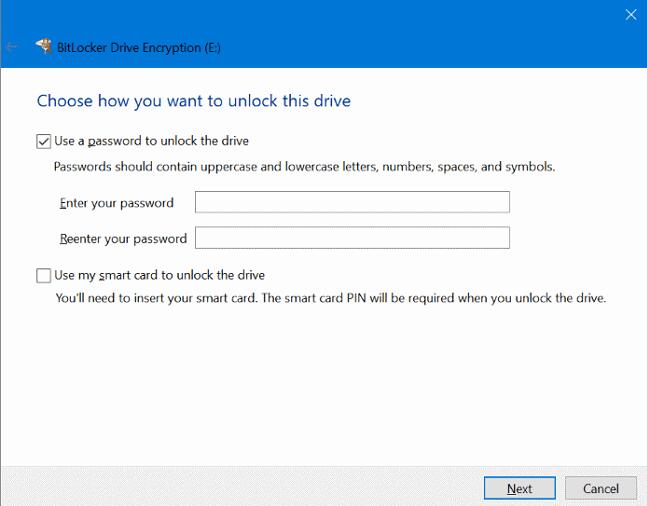
Step 2: Set a password to protect the external hard drive. Then, back up the recovery key to a safe place. If you forget your password, you can use the recovery key to access the drive.
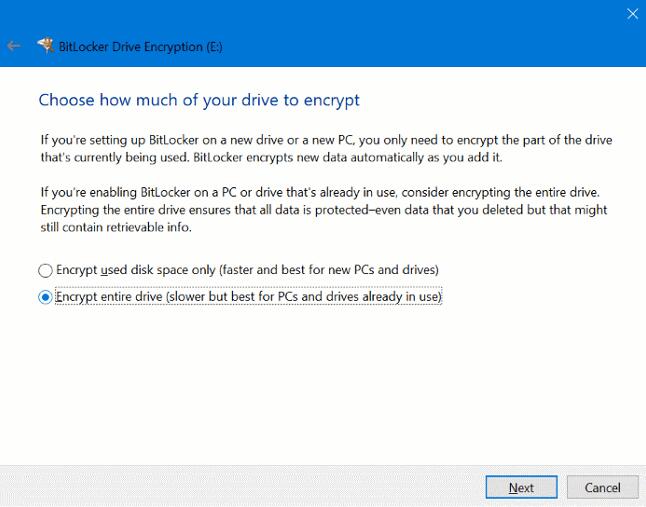
Step 3: Please select "Encrypt entire drive". Or you can only choose to encrypt the used disk space.
Step 4: Microsoft BitLocker offers two encryption modes. If you have the latest Windows version, you can select "New Encryption Mode" and provide additional integrity support. Otherwise, select Compatibility Mode and click "Next".

Step 5: Follow the instructions to complete the encryption of the external hard drive.

Method 3: Password Protect External Hard Drive on Mac
1. How to Password protect an external hard drive with Disk Utility on Mac
When formatting an external hard drive with Disk Utility on your Mac, you can encrypt and protect it with a password by following the steps below.
Step 1: Connect the external hard drive to your Mac.
Step 2: Go to Finder > Applications > Utilities > Disk Utility. Alternatively, you can open Disk Utility by searching in Spotlight.
Step 3: Select your external disk in the menu on the left, and select "Erase" in the toolbar. Remember to back up your data before using this procedure.

Step 4: Enter a name for the drive. Then, click the Format option and select Mac OS Extended (Journaled, Encrypted).
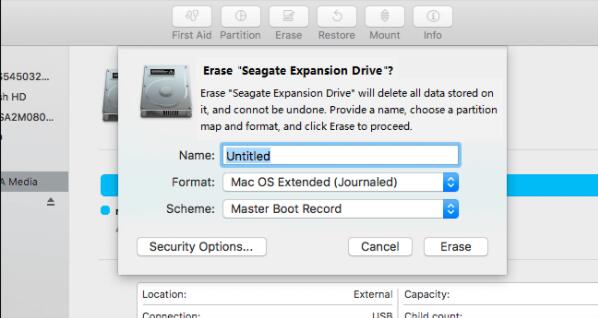
Step 5: Click Erase. Enter and verify the password, then click Select.
Step 6: Finally, click Erase and Finish. Once the process is complete, you will see that your drive is encrypted and you will need to enter your password every time you restart your Mac or connect an external hard drive.
2. How to Password protect an external hard drive on Mac without Erasing
Step 1: Connect the external hard drive to your Mac.
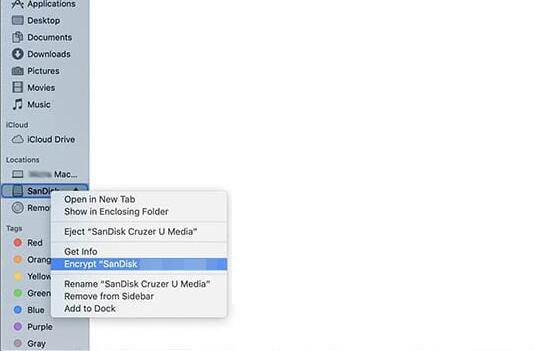
Step 2: Open the Finder window, right-click the external disk and select "Encrypt (drive name)" from the drop-down menu.
Step 3: Enter and confirm the password in the pop-up dialog box. You can also add hints to help remember passwords later.
Step 4: Select "Encrypt Disk" to start encrypting the external hard drive. Depending on the size of the file, it may take a long time.