2 Free Ways: Password-Protect and Encrypt a Google Drive Folder
If you plan to store your folders on the cloud, encryption is perfect for you. Despite all the security features, cloud storage spaces are prone to data breaches and other security issues. Google hasn't rolled out a feature that can password-protect Google Drive folders. There are many third-party scripts available that promise to encrypt the Google Drive folder, but nothing. Therefore, the best option for encrypting Google Drive folders is to use third-party data encryption software. You have several options for password-protecting your Google Drive folders and files with data encryption software. In this post, we list 2 free ways to encrypt and password protects your Google Drive folders.
1. Encrypt Google Drive folder using WinRAR
WinRAR is a compression tool with many integrated additional features to compress files or folders into smaller archives. The software supports all leading compression formats including RAR, ZIP, ARJ, TAR, UUE, 7-Zip and many more.
Password protects Google Drive files in three steps:
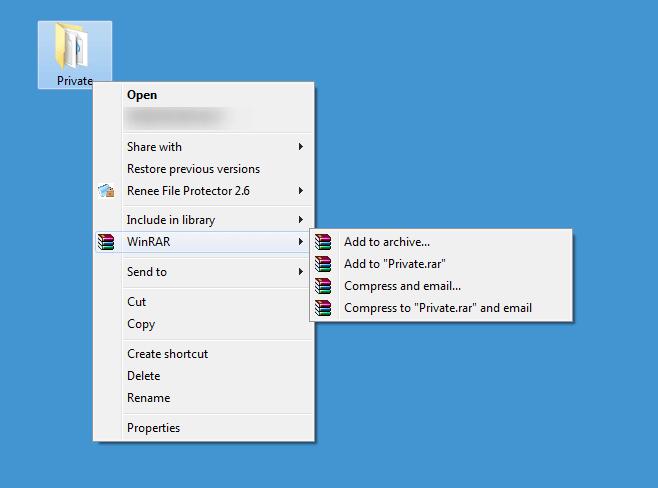
Step 1: Download and install the program on your computer. After that, go to the folder you want to upload on Google Drive, right click on it and select the "Add to Archive" option.
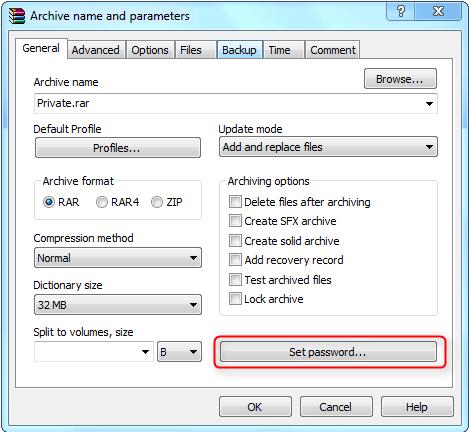
Step 2: Select the "Set Password" option in the pop-up window.
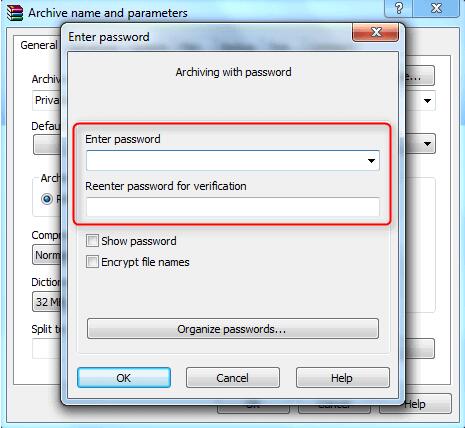
Step 3: Enter the password and click "OK" to confirm the encryption and you can now upload the encrypted folder to your Google Drive.
2. Encrypt your Google Drive folder with BitLocker
BitLocker Device Encryption is a built-in encryption solution for Windows 11/10 and Windows Server 2016 or later. It allows you to fully encrypt your internal and portable drives.
9 Steps to encrypt Google Drive folder with BitLocker:
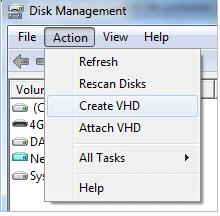
Step 1: Open Disk Management MMC > Actions > Create VHD.
Step 2: Enter a file name and specify a size.
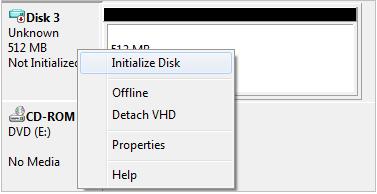
Step 3: Right-click on the created disk and select the Initialize Disk option, then click OK.
Step 4: Right-click on unallocated space and select New Simple Volume. Wait for the wizard to format the volume.
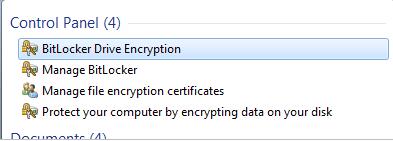
Step 5: Turn on BitLocker Device Encryption from Control Panel.
Step 6: Click the Turn on BitLocker option next to the newly created volume on the VHD file in the BitLocker To Go section.
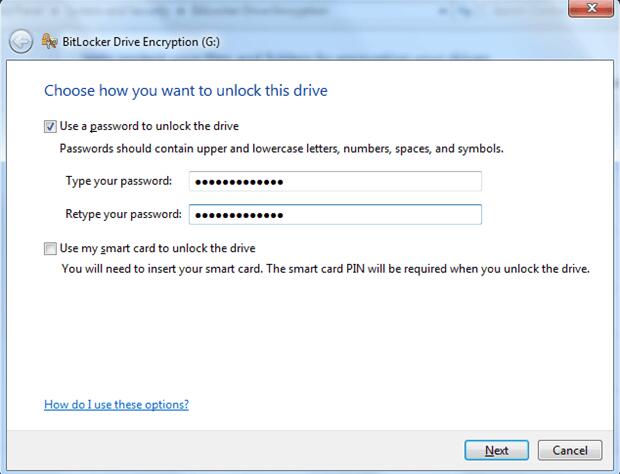
Step 7: Select the option to unlock the drive with a password to set a password.
Step 8: Save or print your password key.
Step 9: Click Start Encryption and BitLocker will encrypt your VHD file.