How to Remove File Protection and Delete Protected File in Windows
When you try to delete a file, you may see an error message on the screen that the file is protected. You may not make any changes to the file protection other than to remove it. This post will describe how to unlock files and how to delete protected files. First, you can use the four methods listed below to remove file protection on Windows 11/10/8/7/XP.
1. Change file permission
2. Unlock the write-protected SD card or USB drive
3. Decrypt files using Windows built-in encryption tools
4. Use CMD to remove Write protection
Method 1: How to Change File Permission
Step 1: Open Windows File Explorer, select the file, and click Properties.

Step 2: In the Properties dialog box, select Read-Only to remove the check mark and click OK.

Method 2: Unlock the write-protected SD card or USB drive
Editing the registry is a common method of removing protection from an USB device or SD card. Please connect a write-protected USB drive or SD card to the computer. Note: Before making any changes, please back up the Windows registry. The steps to remove write protection from a USB drive or SD card are as follows.
Step 1: Click on Win+R and then type Regedit to open Registry Editor.

Step 2: Search the following paths for the key named WriteProtect:
HKEY_LOCAL_MACHINE\SYSTEM\CurrentControlSet\Control\StorageDevicePolicies

Step 3: Please right-click it and choose Modify to change the value from 1 to 0.

Step 4: Close Regedit and restart your computer.
Method 3: Decrypt files using Windows built-in encryption tools
Step 1: Press the Windows-E button on your keyboard and go to the desired file location.
Step 2: Right-click the file name and click "Properties".
Step 3: On the General tab in the attributes section, click the "Advanced" button.
Step 4: Uncheck the box next to "Encrypt secure data" and click "OK".

Step 5: To close file properties and complete file decryption, click the "OK" button.
Method 4: Use CMD to remove Write protection
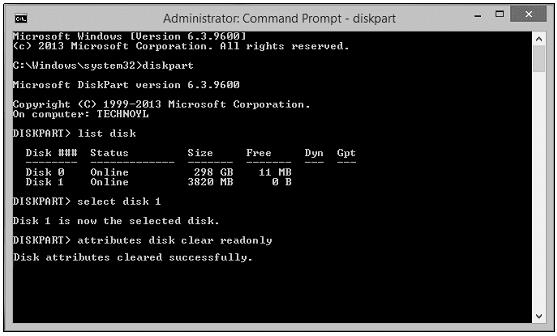
Step 1: Open the start menu and type "Run", then in run management, type cmd to open command prompt.
Step 2: Enter the commands shown below, making sure to hit the "Enter" button after each command.
diskpart
list disk
select disk #
attributes disk clear readonly
# is the number of the write-protected flash drive or memory card.
Step 3: Click the Exit button to exit the command prompt. Restart your computer to see if the file can be accessed and used again.
How to Deleted Files after Removing File Protection in Windows 11/10/8/7
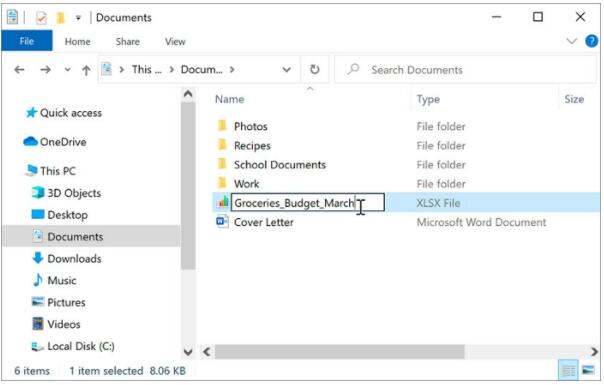
Please launch File Explorer and navigate to its location.
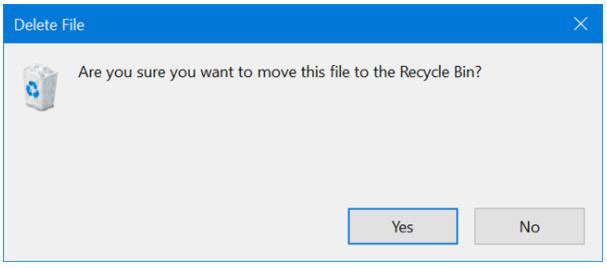
Step 1: Find the file you want to delete and select it. You can select multiple files by holding down the "CTRL" key.
Step 2: Press the "Delete" key on your keyboard to select the delete option from the context menu.
Step 3: Windows 11/10 does not ask for confirmation by default when you delete a file, but if your Recycle Bin is set to display a deletion confirmation popup, press "Yes" to confirm the process.