IUWEsoft Mac Duplicate File Finder Pro User Guide
Are you tired of searching through your cluttered computer files by hand only to find numerous duplicate copies of the same document on Mac? Using a Mac Duplicate File Finder can save you hours of time and frustration.
Step 1: Locate Folder/Drive to Scan
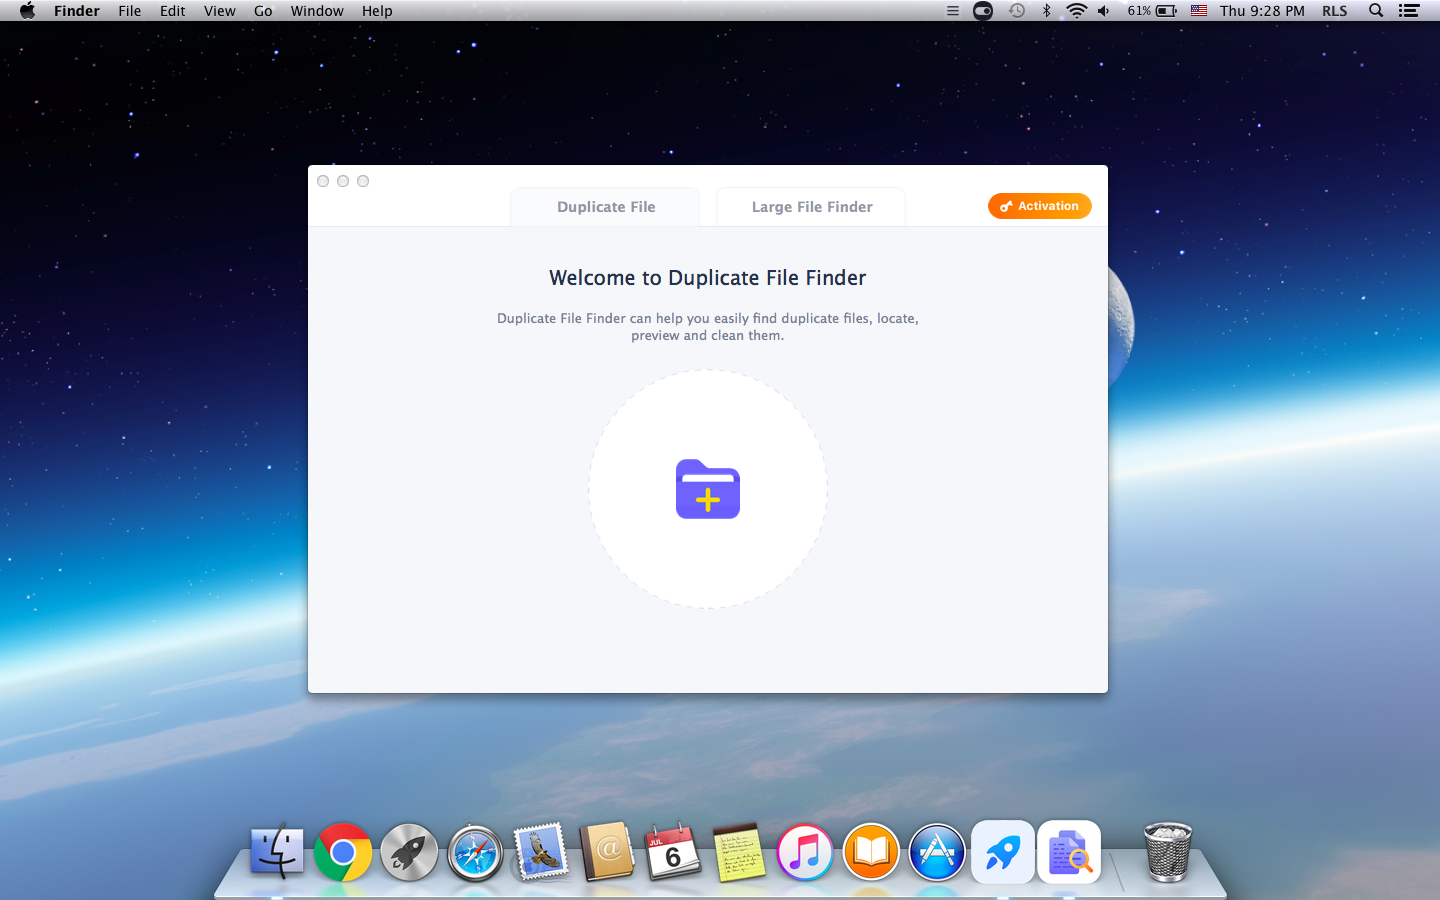
Download and install the Mac Duplicate File Finder Pro on your PC. Launch it. From the first window, you must choose a location to scan for duplicates. Connect duplicate files to your Mac if you want to remove them from the external drives. You can use the "+" icon to browse through the folders on Mac. If you want to restrict your finding and removal to only large-sized files, you can click on the "Large File Finder".

Step 2: Preview Found Duplicate Files
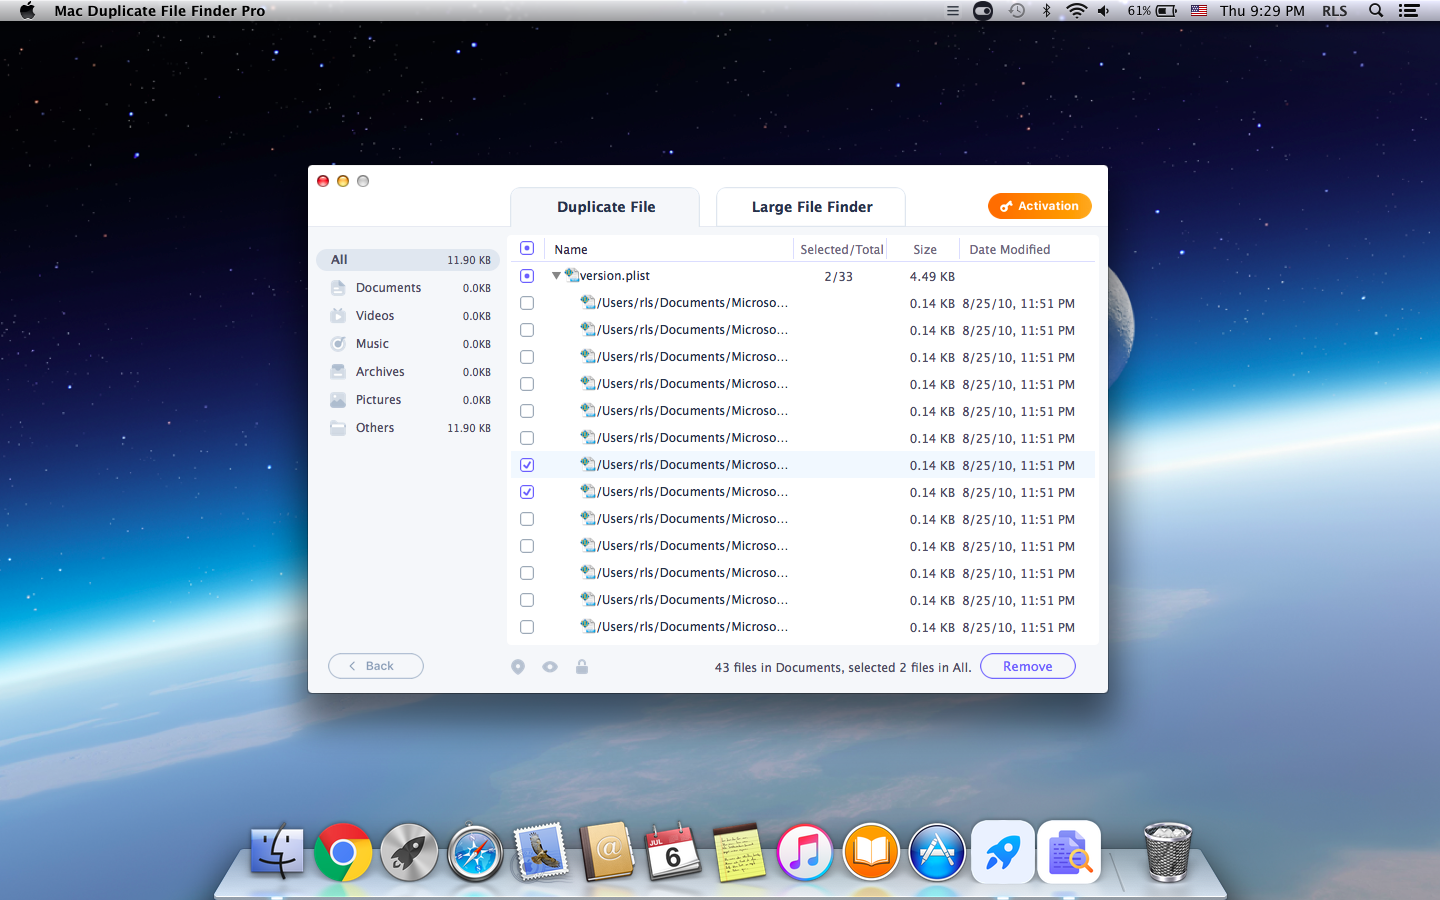
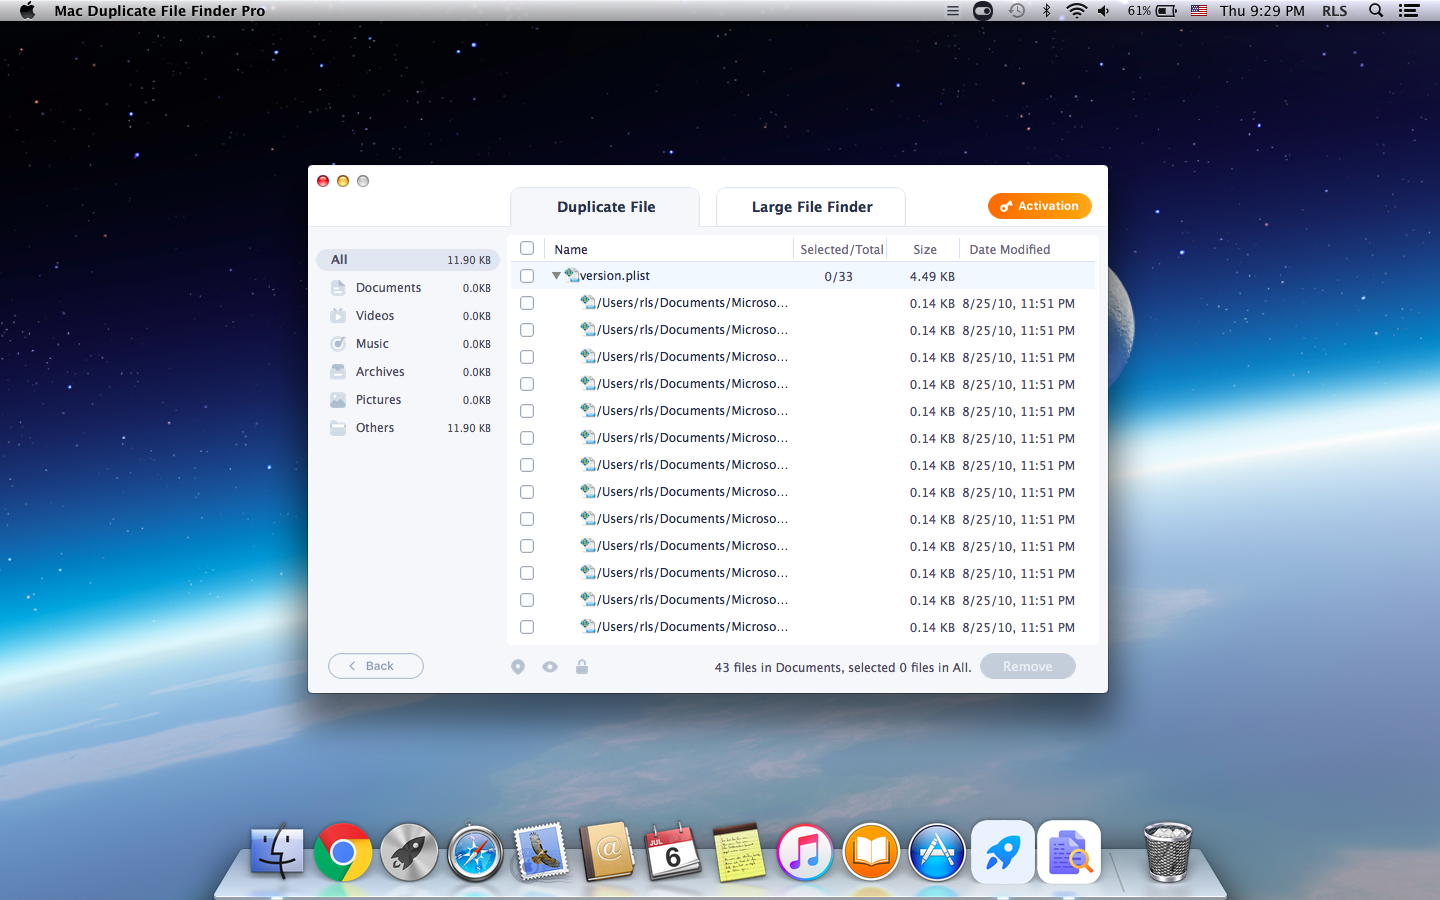
After finishing the scan, Mac Duplicate File Finder Pro will automatically jump to the result page. Here, you can click the file type on the left to view the corresponding duplicate, and you can also click View Details to preview the complete content.
Step 3: Remove Duplicate Files
After the scanning, select the duplicated files from the list and click the "Remove" button to permanently delete duplicate files on your Mac computer.